Shopping Cart
There are no more items in your cart


2) - Select Do it.
3) - Choose On the card mat Then select Continue.
4) - Select Show all materials and choose Card Insert - Cardboard.
5) - Remove the protective cover from the mat.
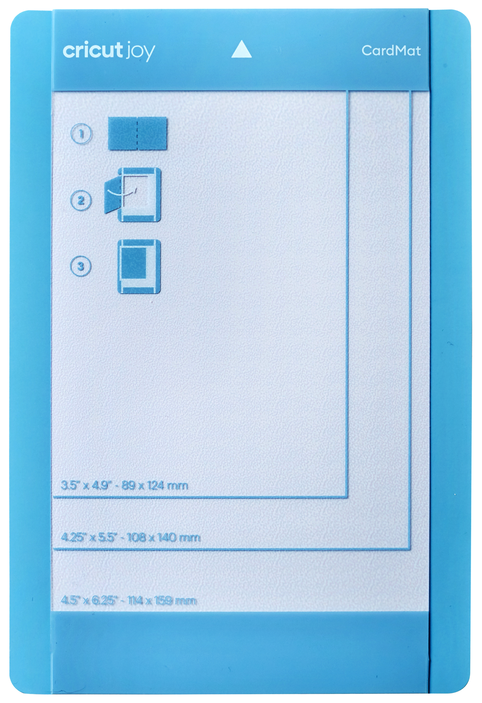
6) - Open the card. From the left, slide one of the folded card sheets under the plastic divider.

7) - Make sure the card fits in the upper left corner of the mat. Move the card up until it is level with the top edge. Then level the fold line of the card with the plastic divider.
8) - Press the front of the card on the mat sticker.
9) - Insert the mat into the machine, with the end of the arrow first.

10) - When the cut is finished, remove the mat from the card.
11) - Insert the insert through the slots in the corners of the card.
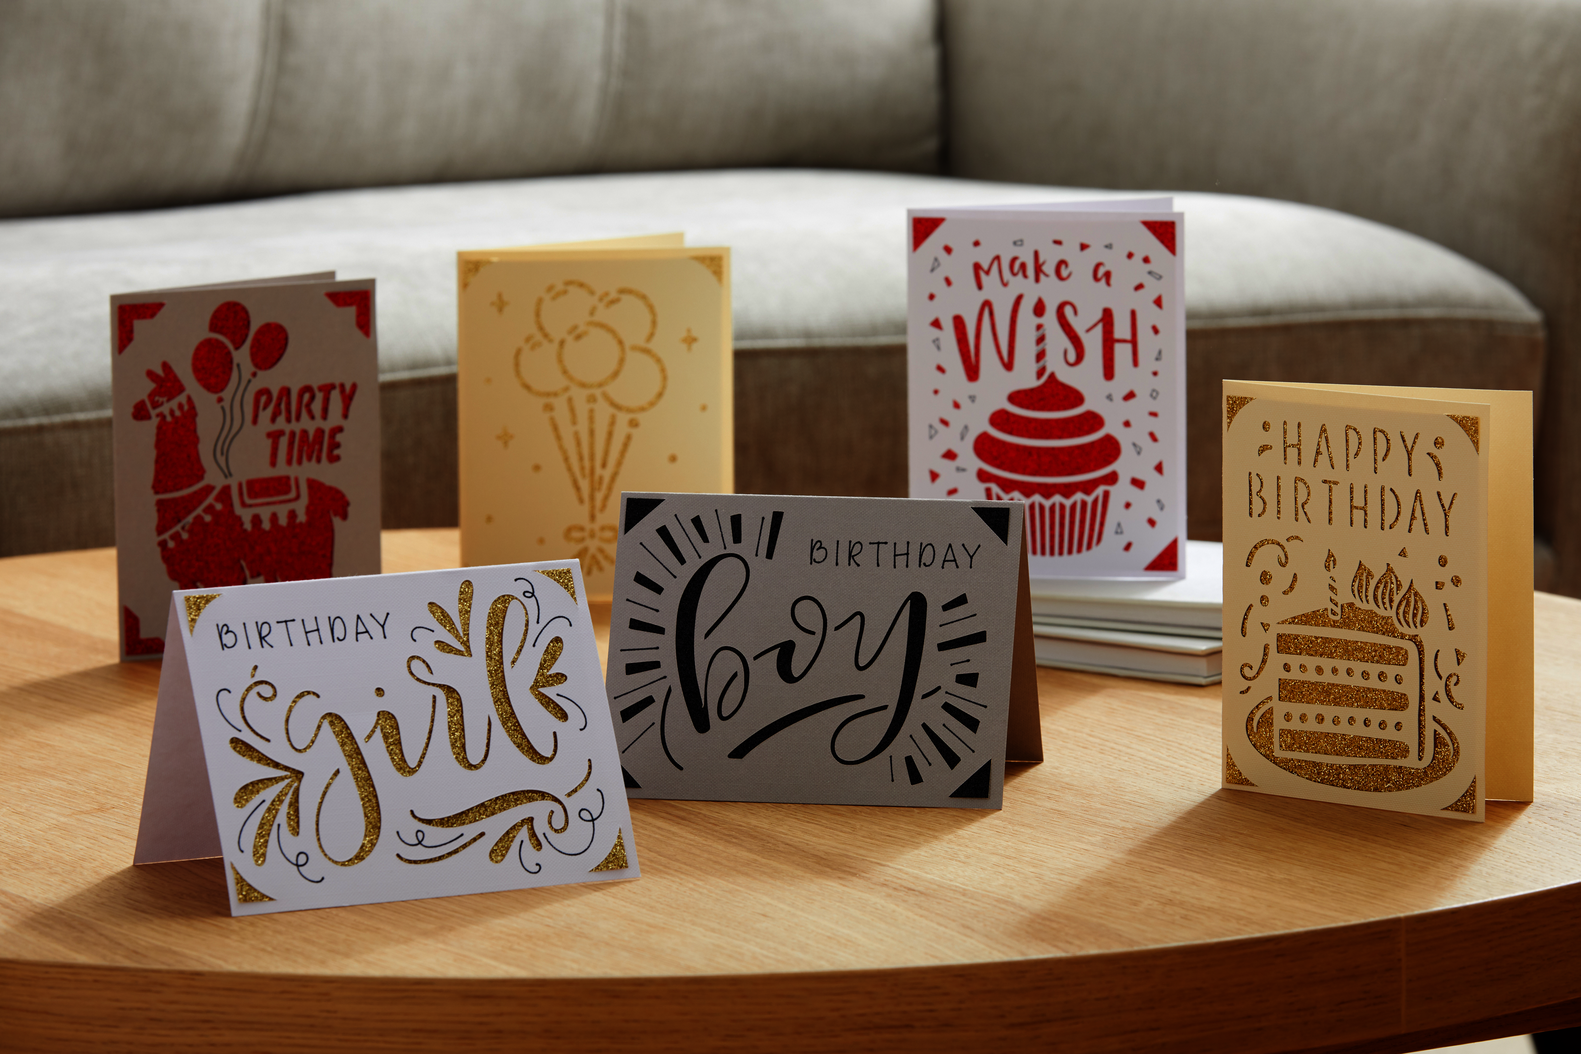
12) - Enjoy!
1) - Select the card insert you want. To search through designs created for a specific card size, use the filter in the upper right equine.

2) - Select Start Doing.
3) - Select the card size from the list of supported sizes. Select Next to edit the card and insert the color you want, and to display your finished project. Then select Next.
4) - Material cutting and loading settings are selected automatically. Select Do it.
5) - Remove the protective cover from the mat.
6) - Open the card. From the left, slide one of the folded card sheets under the plastic divider.
7) - Make sure the card fits in the upper left corner of the mat. Move the card up until it is level with the top edge. Then level the fold line of the card with the plastic divider.
8) - Press the front of the card on the mat sticker.
9) - Insert the mat into the machine, with the end of the arrow first.
10) - When the cut is finished, remove the mat from the card.
11) - Insert the insert through the slots in the corners of the card.
12) - Enjoy!