Shopping Cart
There are no more items in your cart

€194.00 Price excludes VAT
€234.74 Price includes VAT
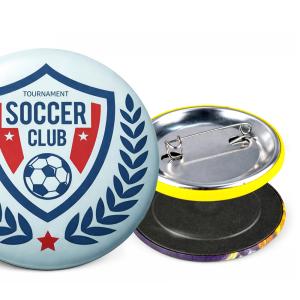
The Button badge making machine with fixed mold B-500/31 is a compact tool for creating fridge magnets and round badges which has a fixed size mold to mount different products of a single measure of Ø31 mm. It is a European-made, high-quality, robust and easy to operate machine, for the production of both small and large quantities of magnets or badges. Depending on the skill of the operator, about 400 magnets or badges can be mounted per hour.
Main features:
Creating magnets or badges with the B-500/31 machine is very simple. A design is created and printed on a regular printer. It is then cut with a paper cutter for round badges. Finally, the B-500/31 machine is used to mount the consumables for badges or magnets.
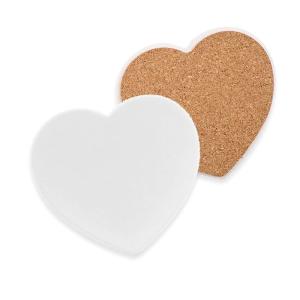
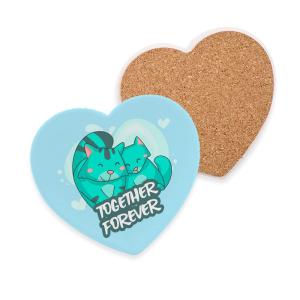
Fridge magnets are perfect for personal applications or for advertising campaigns.
They can be used as souvenirs for events such as weddings, baptisms and communions, or as travel souvenirs, photos of children or couples. They are also widely used in marketing campaigns, because they are always visible in the customers' fridge, they represent a permanent reminder of the brand and allow contact information to be always at hand.
Due to the ease of printing the design and its quick assembly, they can also be used as souvenirs of tourist places, even with personalized photographs.
Badges with mounted needle are ideal for marketing campaigns, sporting or political events, or simply as a decorative element. Due to their low production cost, they are an effective and inexpensive element for all types of advertising.
This machine has a 2-year warranty.

Create custom magnets and badges:
Machine Compatibility:
| Machine | Compatible sizes | Interchangeable Molds | Cutting tool | Badges | Magnets |
|---|---|---|---|---|---|
| B-900s | 78 x 53 mm | Paper punch-cutter rectangular | |||
| B-700 | Ø59 mm | Mold Ø59 mm | Paper cutter CM-500 | ||
| Ø50 mm | Mold Ø50 mm | ||||
| Ø38 mm | Mold Ø38 mm | ||||
| Ø31 mm | Mold Ø31 mm | ||||
| Ø25 mm | Mold Ø25 mm | ||||
| B-500 | Ø75 mm | Paper cutter CM-500 | |||
| Ø59 mm | |||||
| Ø50 mm | |||||
| Ø38 mm | |||||
| Ø31 mm | |||||
| Ø25 mm | |||||
| B-150 | Ø59 mm | Paper cutter CM-500 | |||
| Ø38 mm |
Compatibility according to Printable Area:
| Printable area | Machine | Cutting tool | Badges | Magnets |
|---|---|---|---|---|
| Ø25 mm | B-700 | Paper cutter CM-500 | ||
| B-500 | ||||
| Ø31 mm | B-700 | Paper cutter CM-500 | ||
| B-500 | ||||
| Ø38 mm | B-700 | Paper cutter CM-500 | ||
| B-500 | ||||
| B-150 | ||||
| Ø50 mm | B-700 | Paper cutter CM-500 | ||
| B-500 | ||||
| Ø59 mm | B-700 | Paper cutter CM-500 | ||
| B-500 | ||||
| B-150 | ||||
| Ø75mm | B-500 | Paper cutter CM-500 | ||
| 78 x 53 mm | B-900s | Paper punch-cutter rectangular |